.png)
.png)


I constructed a cheap, effective and very durable set of gear to use with your 500 sized helis.

Here is the list of parts you will need to construct this set of gear.
- 2 Fiberglass Driveway Markers (any hardware store) $4.00
- 1 2" PVC Coupler $.97
- 4 Wiffle Ball Baseballs (Found mine a local dollar store called 5 BELOW) Pack of 10 was $5.00
- 1 tube of Plastic/PVC Epoxy $6.00
- 12 Medium Zip Ties
Tools Needed
- 2"+ Pipe Cutter or Hacksaw
- 5/16 Drill bit and Drill
- Sharpie marker
Now for the steps to making your new set of gear
- Cut the 2 driveway markers about an inch longer than the full length of your helicopter blades.
- Cut 1 driveway marker in half so you now have 3 pieces. (1 piece the length of your blades and 2, half the length of that.
- Cut the PVC coupler into a 1" long piece
- Using your sharpie, Mark 2 spots in the center if the PVC pipe that are 90 degrees from each other.
- Use your 5/16" drill bit and drill, drill the 2 hole out and drill straight though to the other side, trying to drill straight across. So you will end up with 4 holes all 90 degrees from each other(you may have to bore the holes out slightly but you you want the rods to fit tightly in them.)

- Mark the center of the longest pole to use as a guide, slide it into one set of holes so that your center mark is close to the center of the PVC pipe.
- Slide the other two smaller rods into the other holes until they bump up again the longer rod already installed.
- Place the entire assembly on a flat level surface with either aluminum foil or wax paper under the center of the PVC pipe.
- Double check that all your rods are still in the correct positions(the longest one centered and the 2 shorter ones bumping against the longer one)
- Mix you plastic/PVC epoxy in a separate container, once its mixed thoroughly, dump/scoop it into the center of the PVC pipe being careful not to move the rods from the positions, but if you do, don't worry you still have some time before the epoxy sets.
- Let the epoxy set until it's rock hard.
- Once the epoxy sets you can remove the aluminum foil/wax paper.
- I put electrical tape on the ends of my rods to help the zip ties keep from sliding but is not necessary.
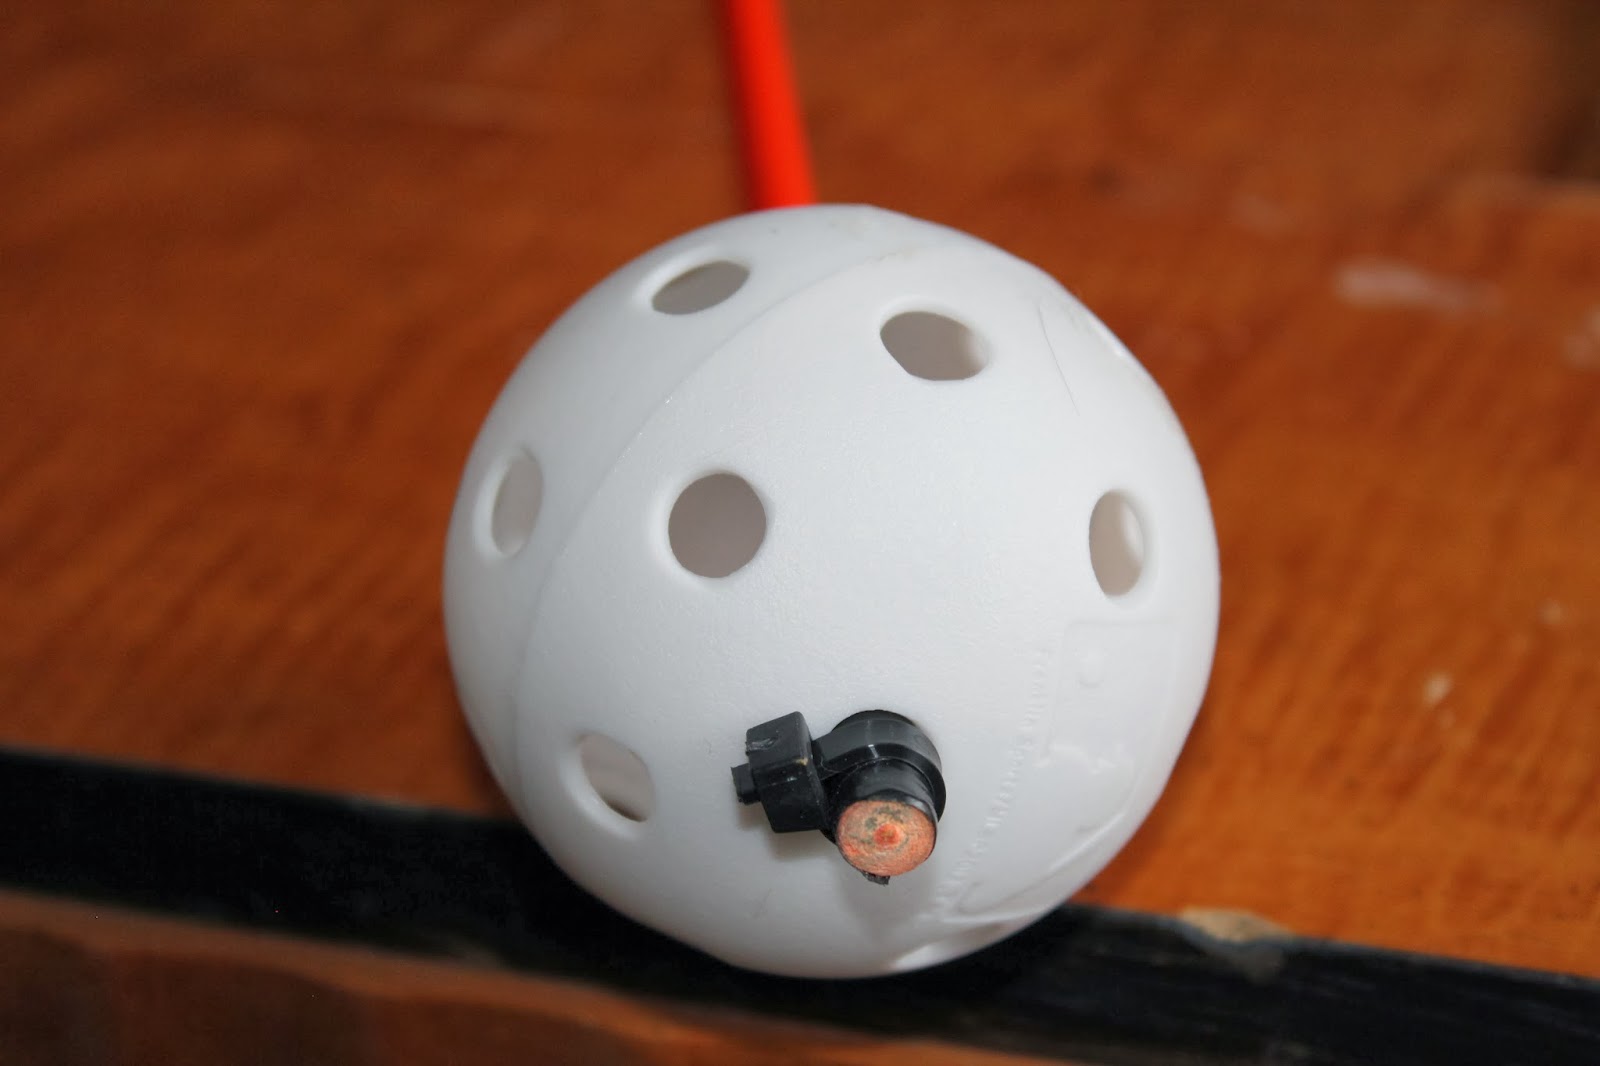
- Slide a wiffle ball onto the end of one of the rods trying to find center holes that will allow the ball to be balanced on the rod.

- Place a zip tie at the end of the rod and tighten firmly, now put a zip tie on the other side of the ball leaving a little play room for the ball to able to spin freely but not slide up and down the pole.
- Repeat step 14-15 for the remaining 3 rods

- Once you have all 4 balls attached to the rods its time to mount it on the skids of your helicopter.
- Place your helicopter on the gear so the nose is in between 2 of the rods

- Slide the front skids under the 2 rods they are over, then gently bend the back rods over the back end of the skids

- Place zip ties around each rod being sure to secure it to the skid mount as well.

Your Done
....and for less then $20.00 you have a durable set of gear that will take some bangs

0 comments:
Post a Comment